Set up advertisement images and back screen
2025-10-20 10:08
Ad display settings on the screen allow you to professionally present advertisements or information you want to communicate to customers at the point of sale. This enhances the customer experience and promotes the store's image.
1. Log in to the Back Office
Go to login.gpos.co.th , enter your email and password, and click Log In.
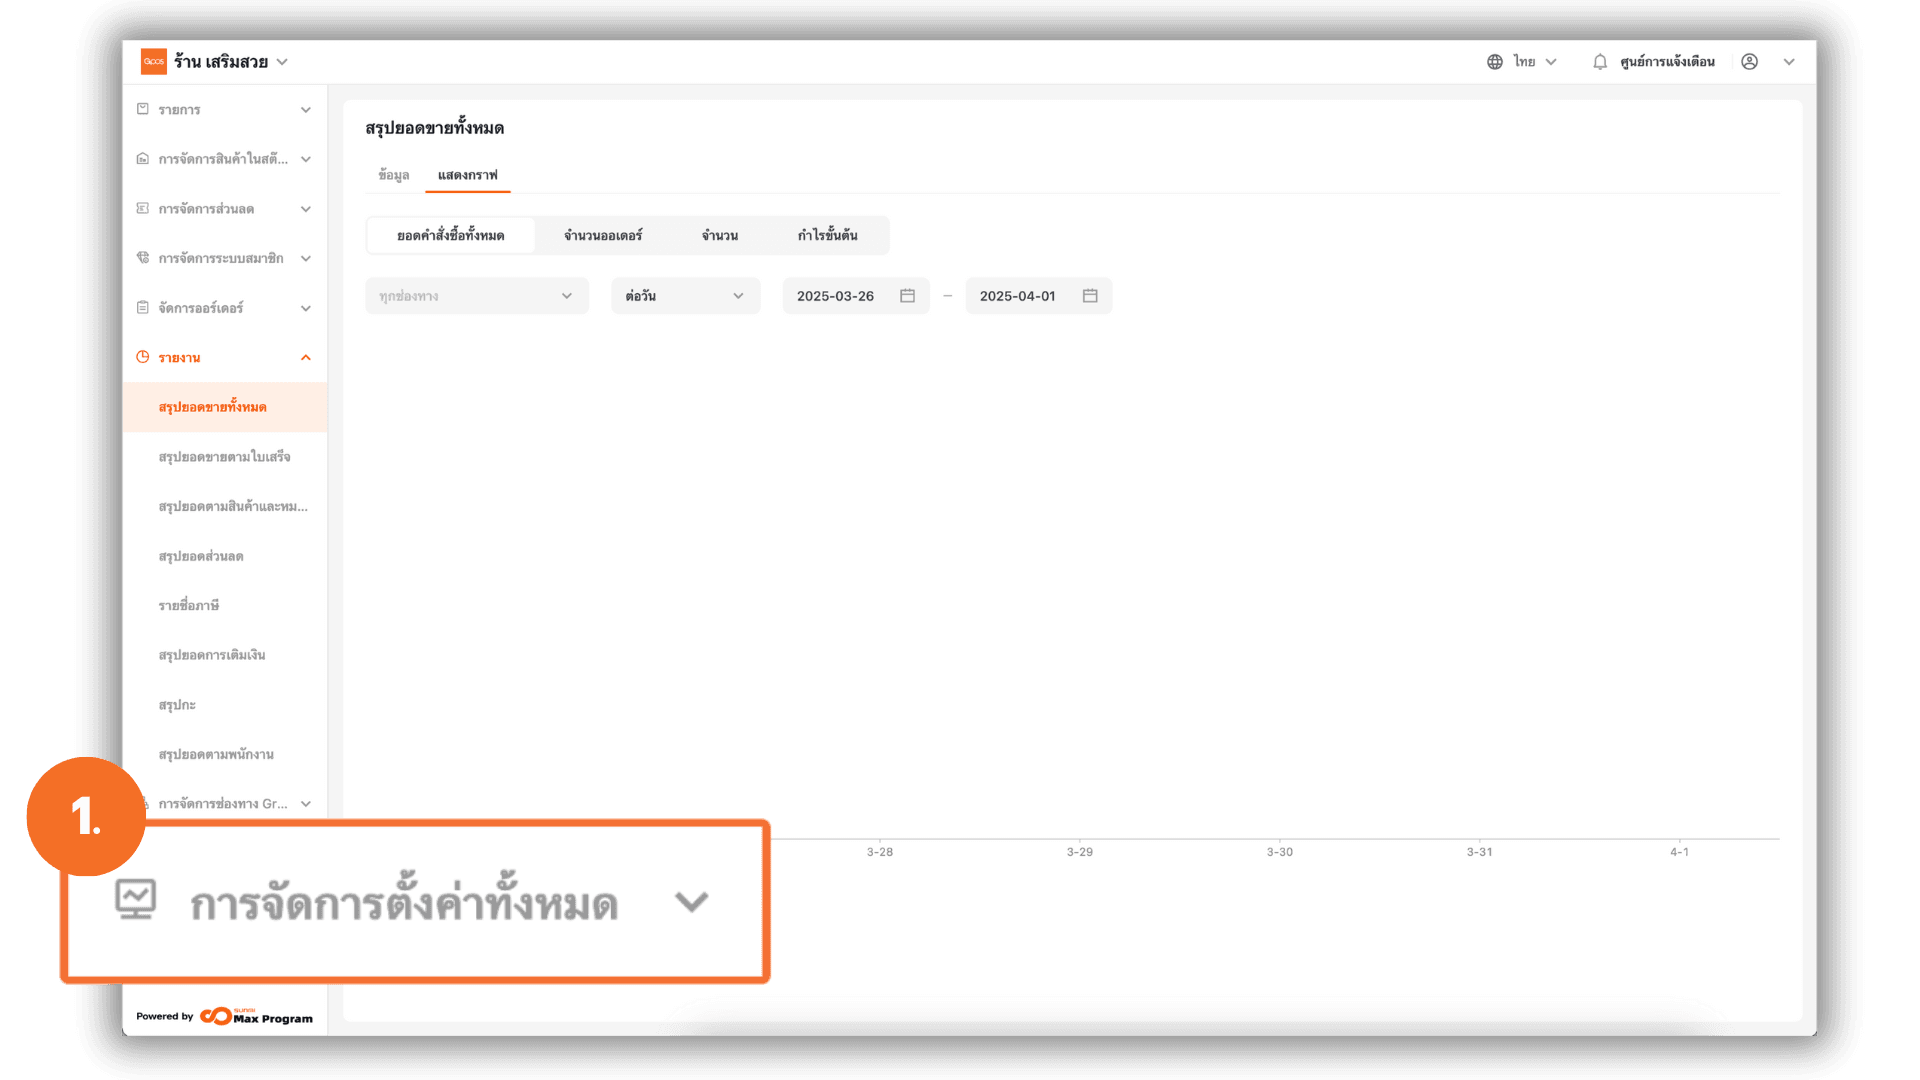
Once logged in, select the menu “Store Management” .
2. Configure Receipt Number Settings
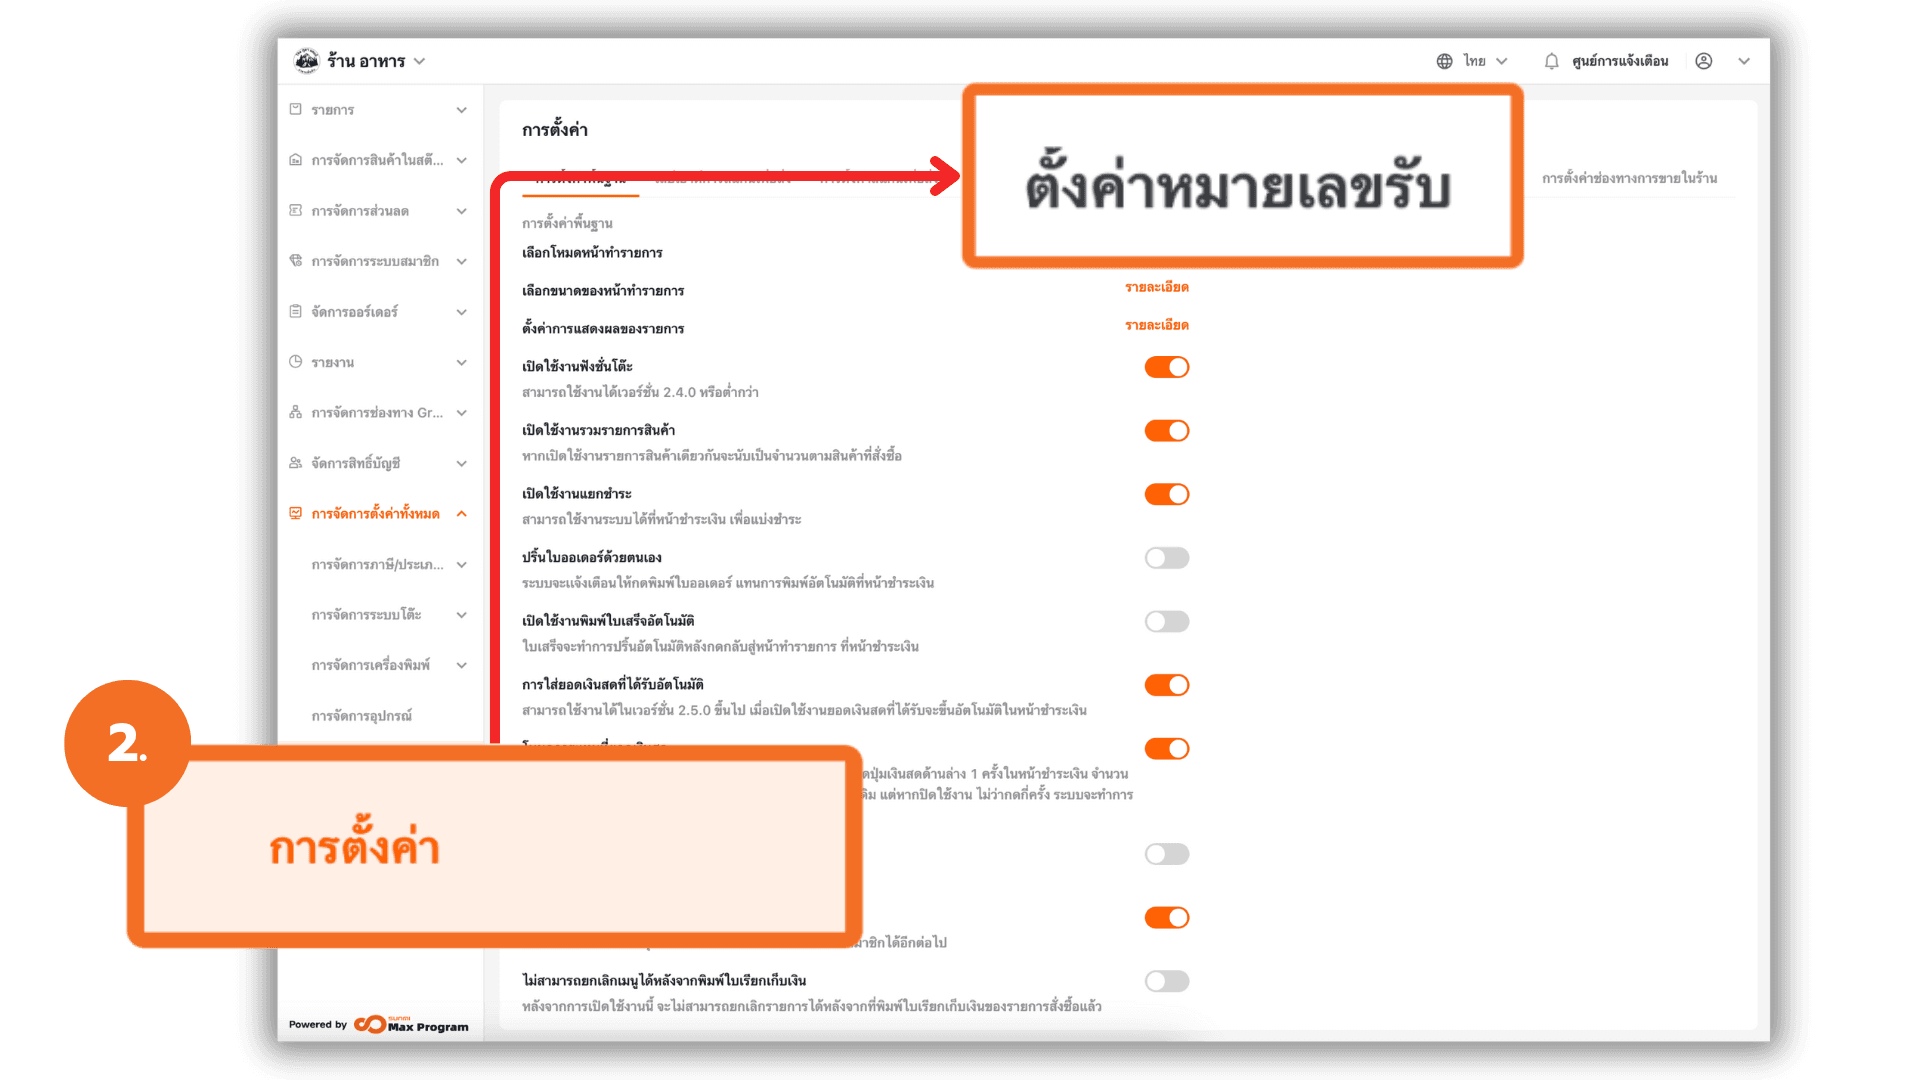
From the left-hand menu, select "Store Settings", then choose the sub-menu "Customer Display Setting".
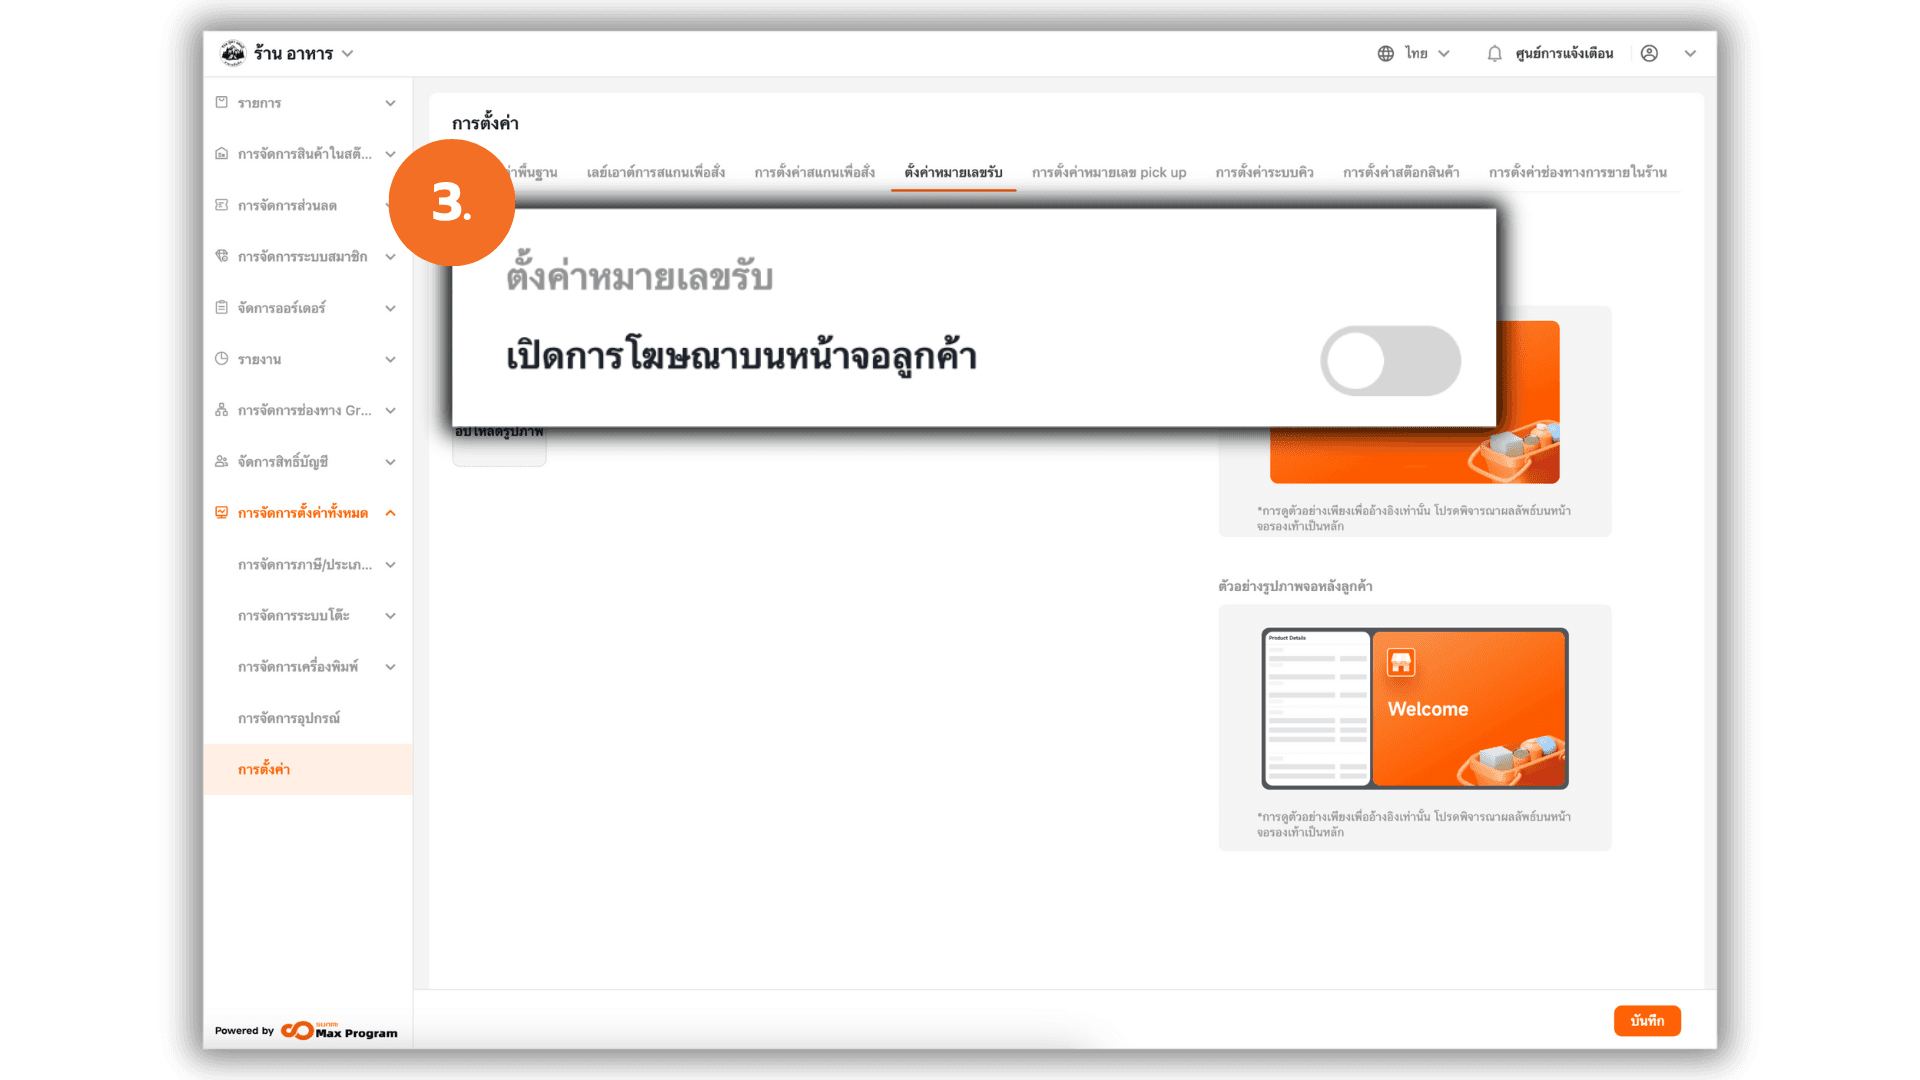
3. Enable Customer Display Advertisement
Enable the option "Enable customer display AD".
Note: Enabling this feature allows the system to display advertisement images on the customer-facing screen at the counter.
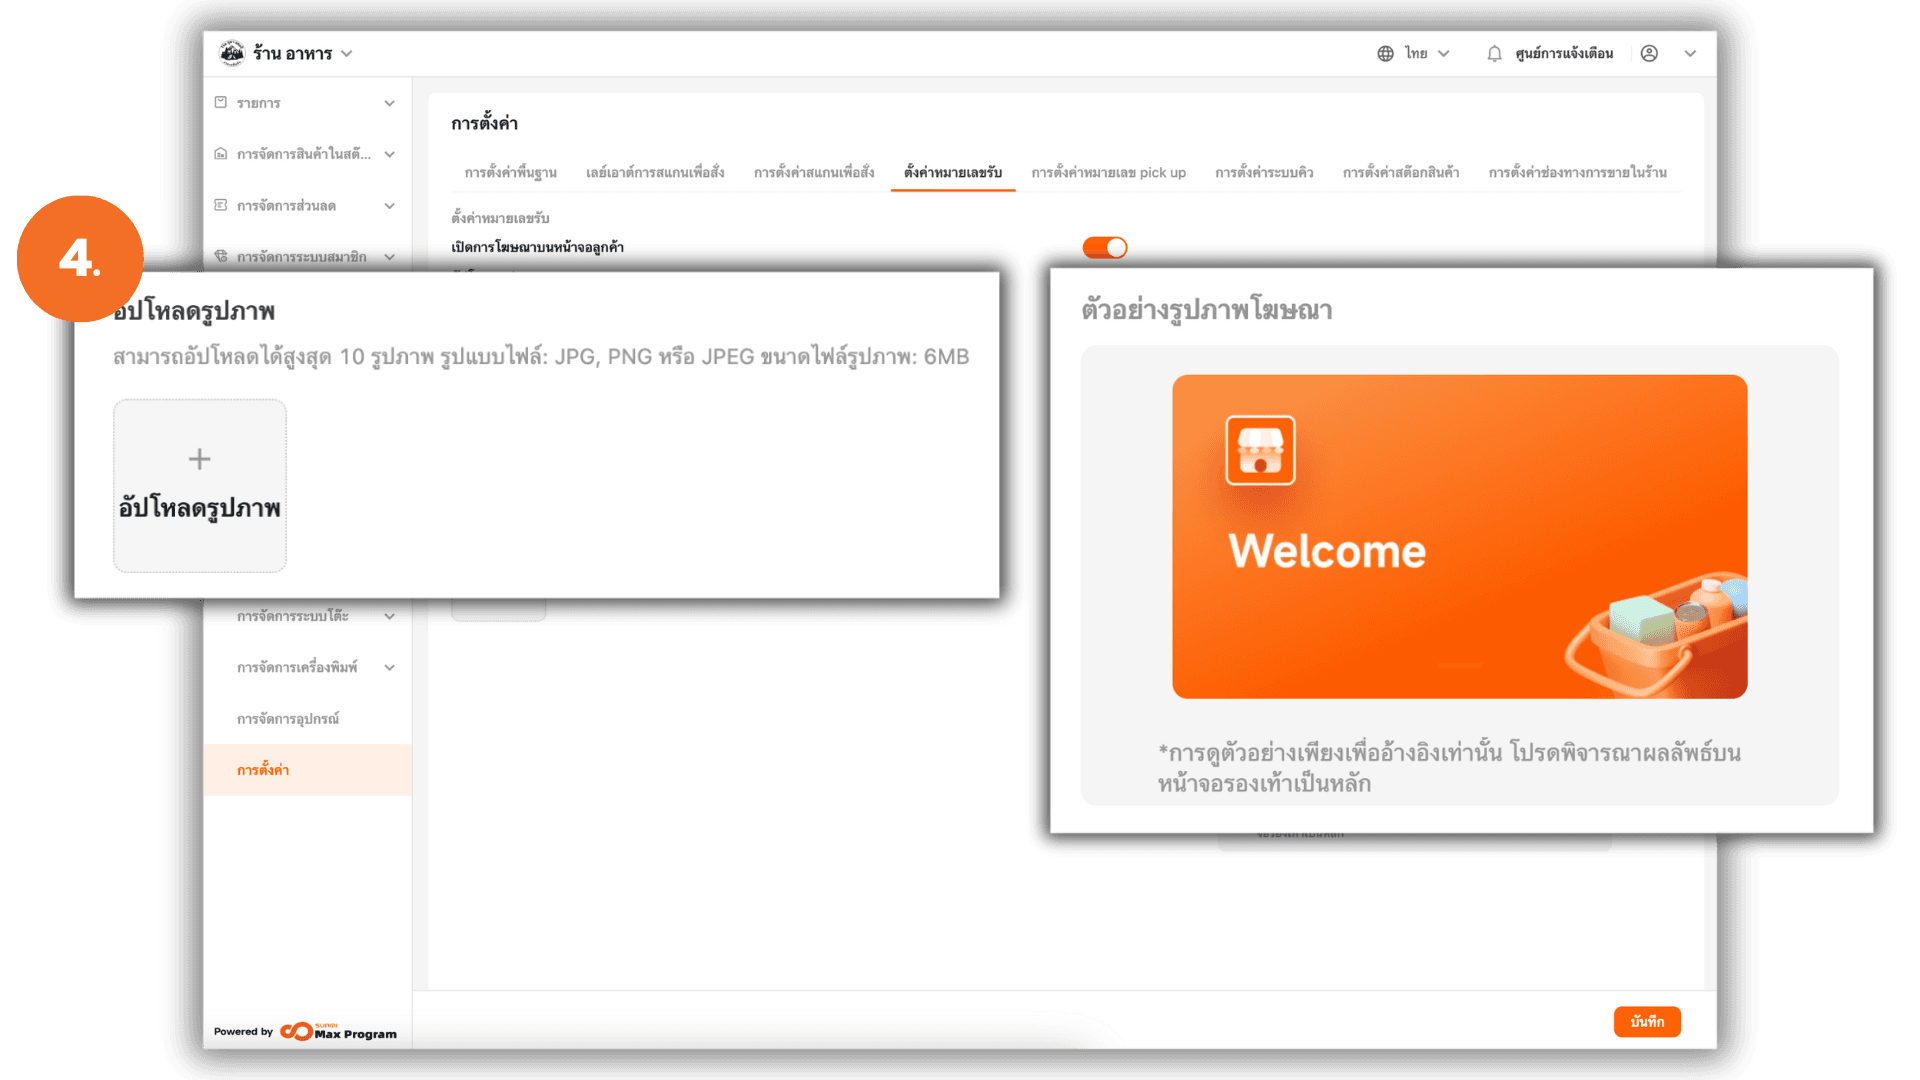
4. Upload Advertisement Images
The system will prompt you to upload advertisement images. Click the "➕ Upload" button in the advertisement section and select the desired image files. A preview of the selected images will be displayed on the right-hand side of the screen.
Note: Supported file formats JPG, JPEG, PNG Maximum file size per image 6MB Maximum number of images 10
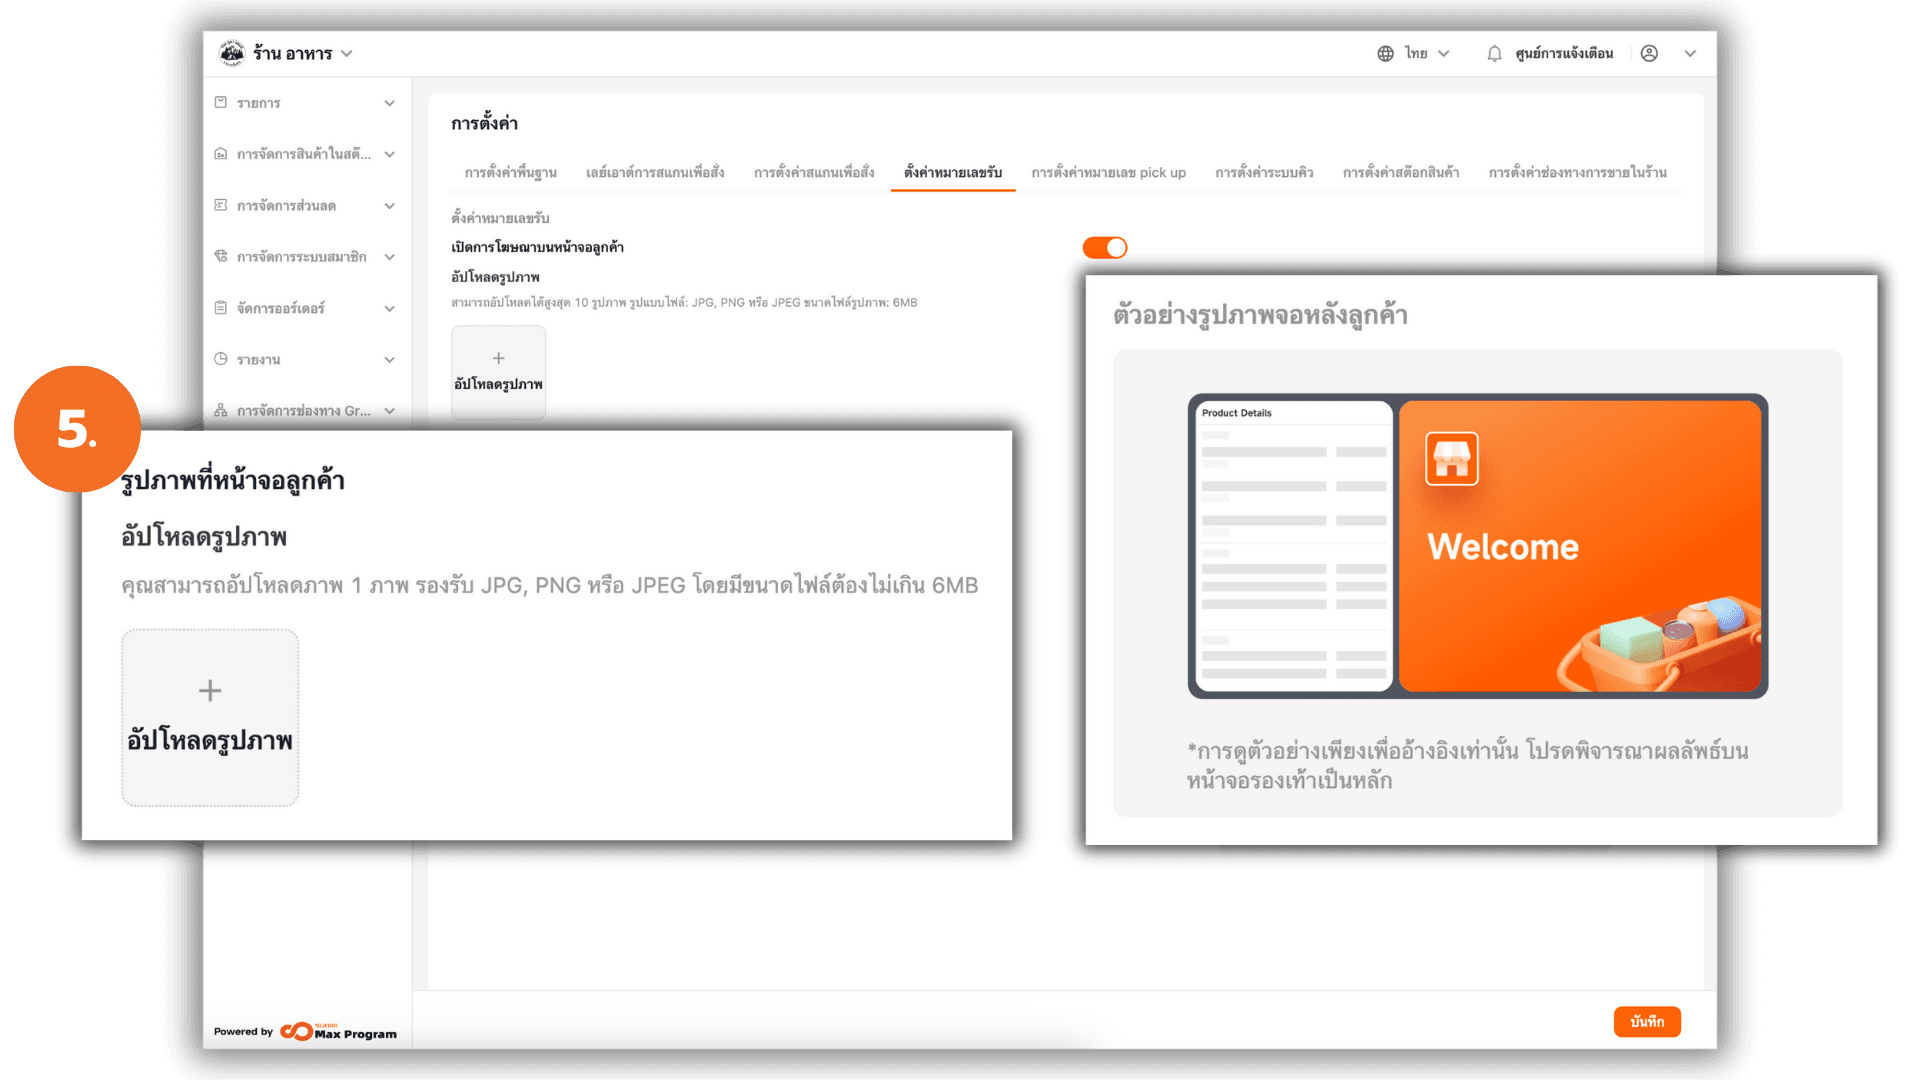
5. Upload Customer Display Image
Scroll down to the Customer Display Screen section and click the "➕ Upload" button. Select the image file you want to upload. A preview will appear on the right-hand side of the screen.
Note: Supported file formats JPG, JPEG, PNG Maximum file size 6MB Only 1 image can be uploaded
6. Edit and Save Settings
Manage your advertisement and customer display images by using :
- The < > arrows to arrange the order of the images. You must click the arrows for each image. You cannot input numbers to set the order.
- The X icon to delete any unwanted image.
Once you have finished uploading and configuring the settings, click "Save" to confirm and activate the advertisement display on the customer screen.
