Set up the order form
2025-10-18 14:07
Order slip settings allow restaurants to control a clear and appropriate print format that suits their operations, helping reduce errors in the food or product preparation process.
1. Log in to the Back Office
Go to login.gpos.co.th , enter your email and password, and click Log In.
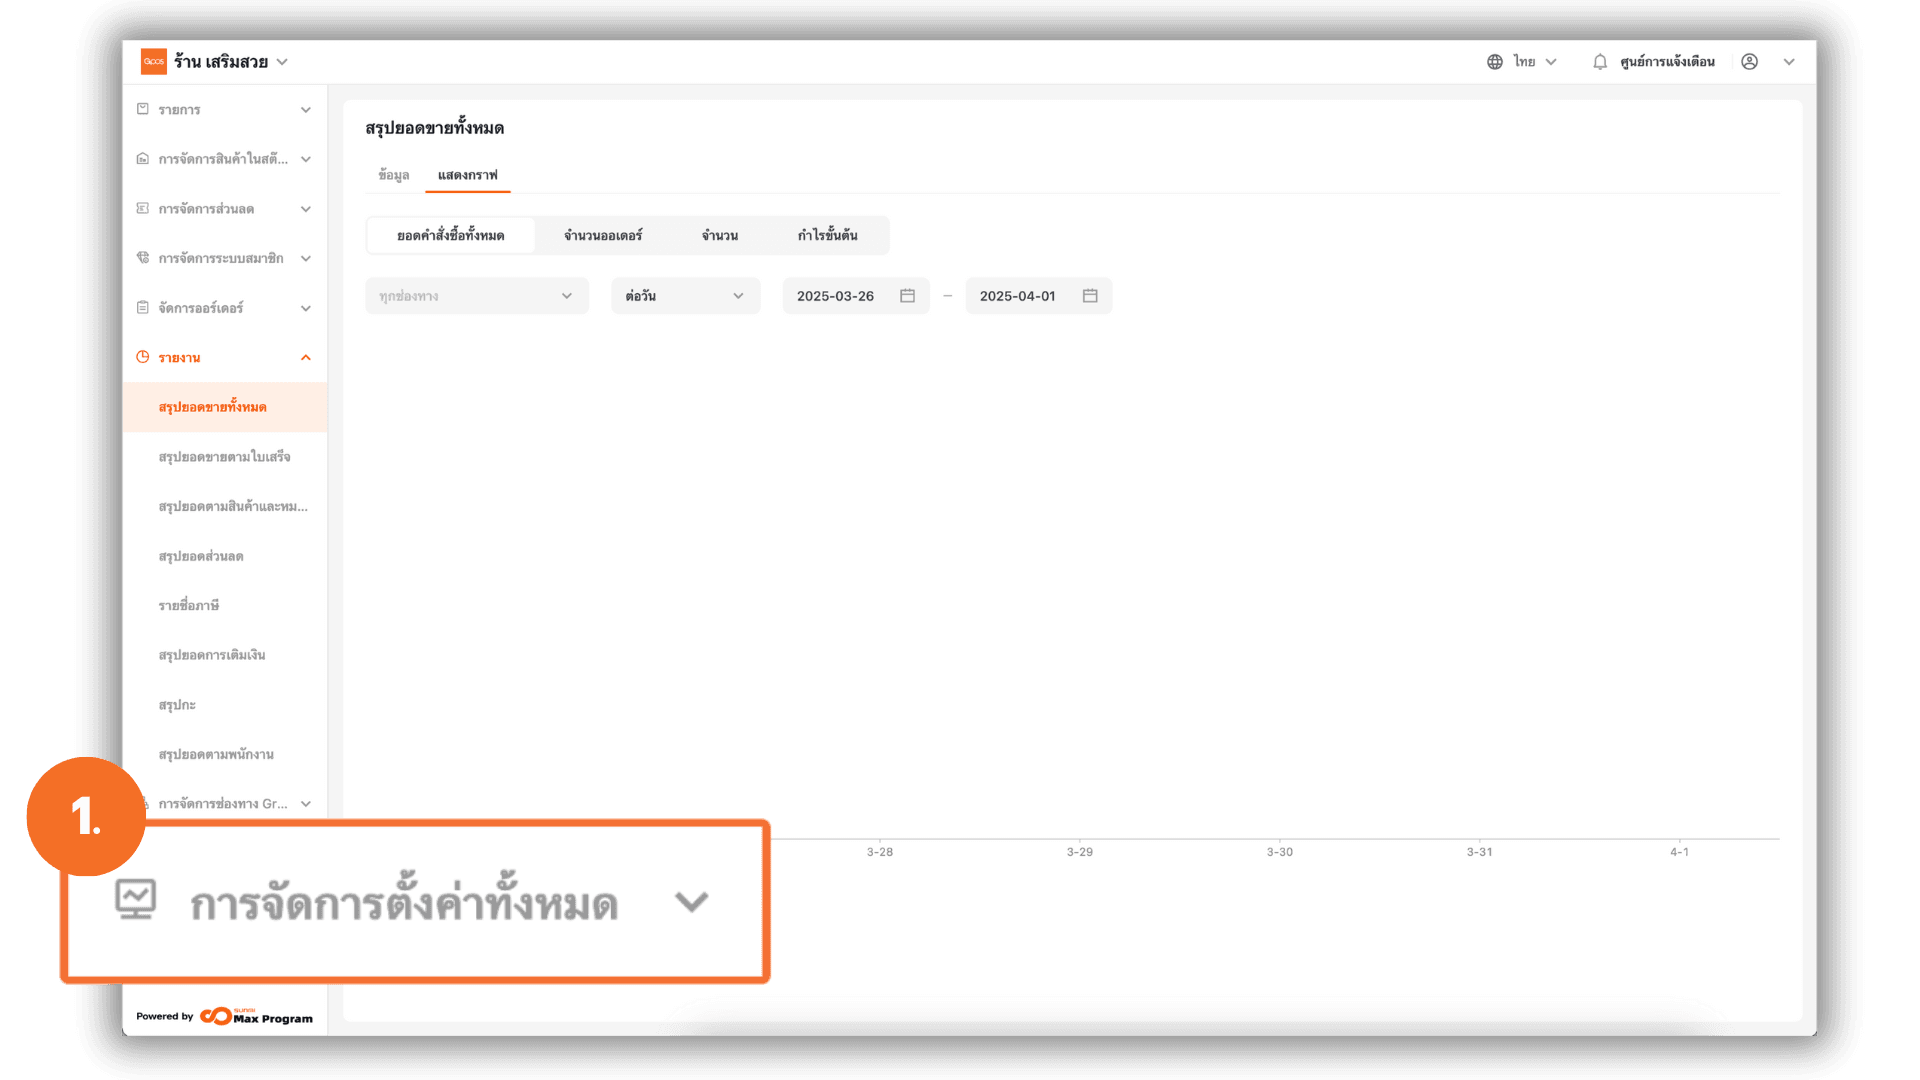
Once logged in, select the menu “Store Management” .
2. Access the Order Form Settings Menu
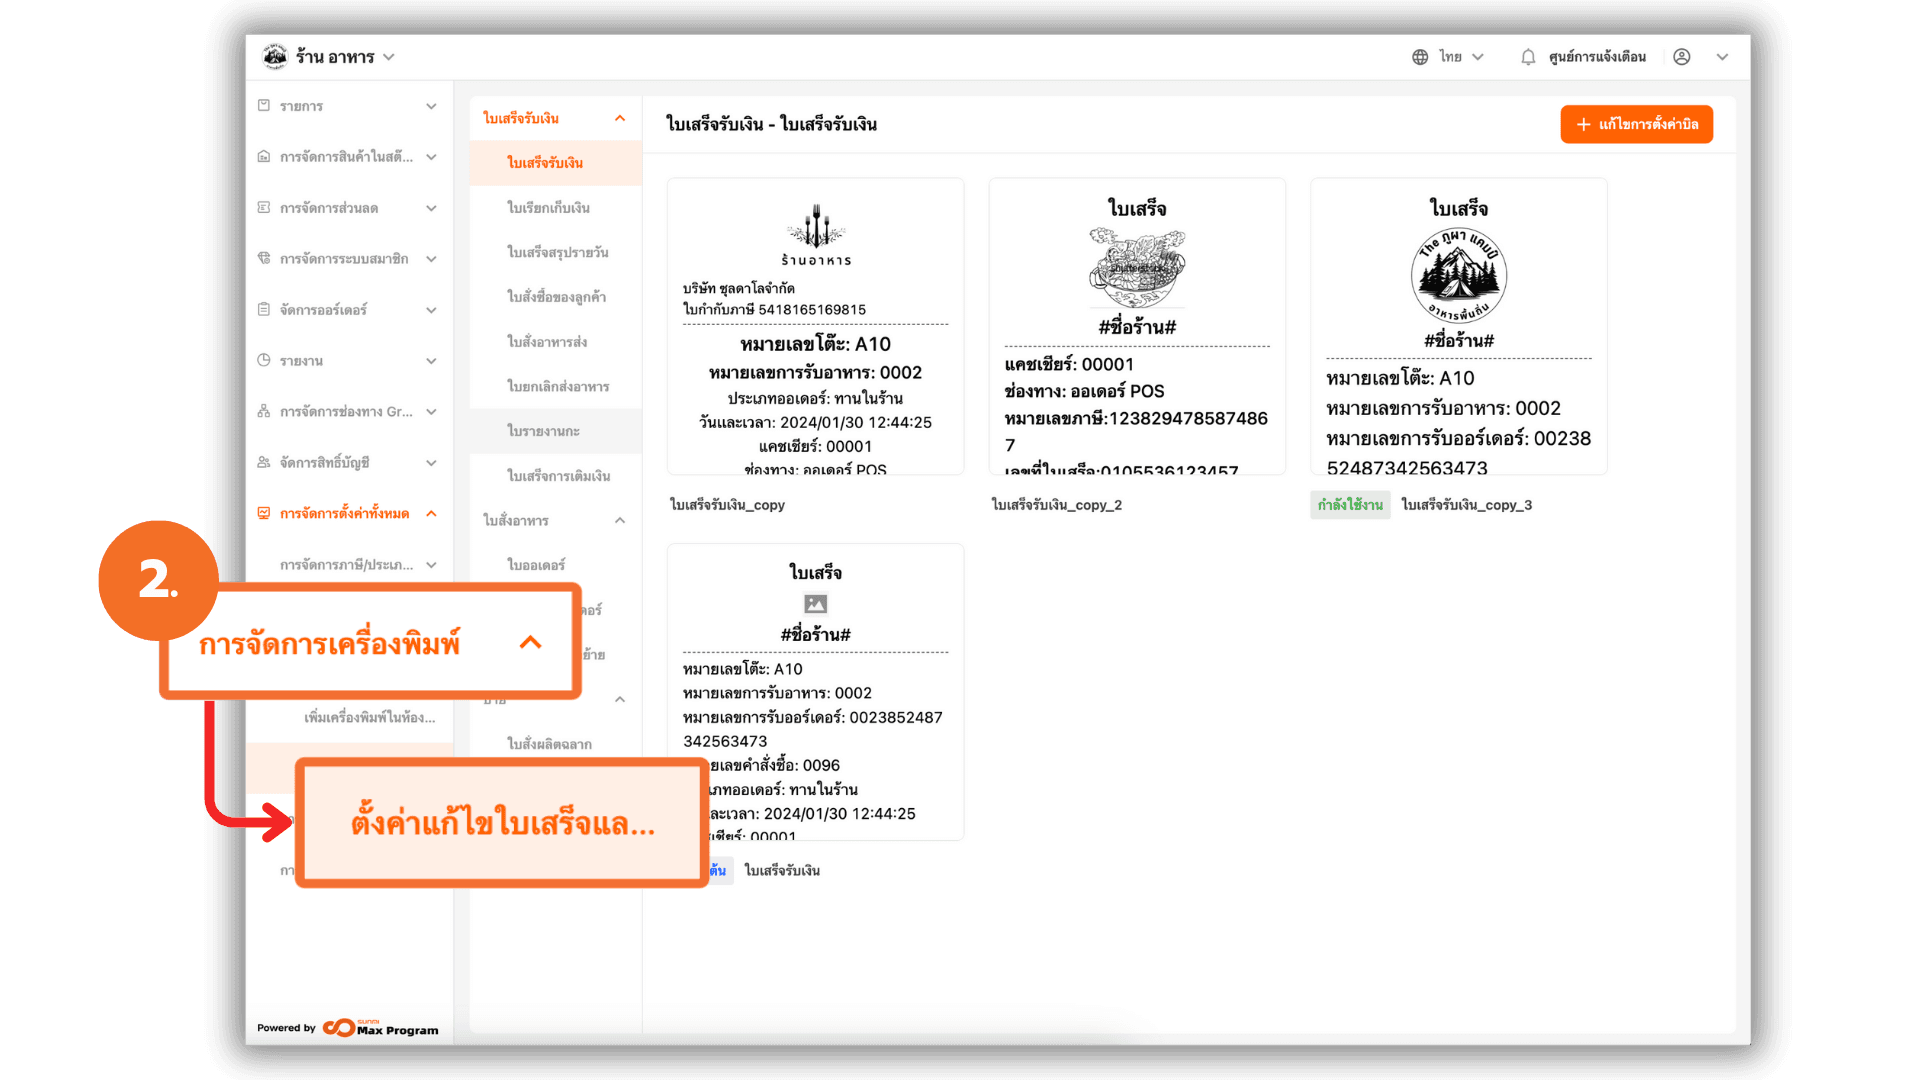
Go to the “Print Management” menu, then select the topic “Receipt Management”.
3. Select the Order Form Template to Edit
The system will display a section for the Kitchen ticket. Choose the food order form you want to customize. If you do not want to make any changes, you can use the system’s default template right away. If you want to design your own, click the “+ Add a new invoice style” button to enter the design screen.

3.1 Select the Sections to Display in the Order Form
The default sections available in the system on the right-hand side of the screen will contain essential information for various types of stores. The text in these default sections cannot be edited, except for the “Custom Message” section, where you can add additional text as needed. The main sections available in the food order form are :
- Basic Information
- Dish Information
- Footer

3.2 Customize with the "Property panel"
The design screen will include a Property panel for formatting the elements of the food order form. The options that can be customized include :
- Font Size : Adjust the text size to be larger or smaller as required.
- Bold : Make the text more prominent.
- Alignment: Choose whether to align the text to the left, center, or right.
- Add : Add new text, images, or dividers.
- Blank Line : Adjust the spacing between each line.
- Actions : Move text up or down, delete, or copy.
- Configurable : Enable/disable editing rights from the POS machine.
Note: When you click “Add New Text”, the system will display a field for entering the text at the top of the Properties Panel.

3.3 Add Images or Preview the Order Form
You can select the paper size that matches your store’s printer and view the live preview. If you want to add a logo or store icon, click the “+ Upload” button to upload the image. Once all settings are complete, click “Save” to save your designed template.
Note : It is recommended to use black-and-white images for clarity when printing on order forms. If a colored image is uploaded, the system will adjust and print it in black when using a color printer.

4. Enable the Order Form Template
After saving the template, click to select the Order Form Template you created. Activate it by choosing to set it as the default template (the system will use this template every time a print is done). You can manage further options:
- Eye Icon: View the preview of the created food order form.
- Pencil Icon: Edit the selected food order form.
- Trash Icon: Delete an unused order form template.
